23 Sun and Moon Tattoo Matching Sisters Designs Worth Booking
Nervous about picking a sun and moon tattoo matching sisters design you’ll actually love years from now? You’re not alone — this is one of the most requested sibling tattoo themes in studios right now, and for good reason. I’ve spent enough time around shops watching consultations happen to know exactly what separates a design that ages well from one that turns into a blurry blob by year three.
So what makes a good sun and moon tattoo matching sisters design? The strongest options use fine-line or blackwork techniques, keep the sun and moon in complementary but not identical poses, and size each piece at least 2 inches to protect fine detail. Placement on the forearm, wrist, or upper back also holds linework better long-term than tiny ankle placements.
Below, I’ll walk through specific design directions, tell you where they hold up best on the body, what the pain actually feels like, roughly what to expect to pay, and how to brief your artist so you don’t end up with a stencil that looks nothing like what you pictured.
Why Sun and Moon Designs Work So Well for Sisters

There’s a reason this pairing keeps showing up in portfolios. The sun and moon are opposites that still complete each other — day and night, light and shadow, one sister who’s loud and one who’s quieter. That built-in symbolism does a lot of the emotional work for you, which is why it translates across almost any tattoo style, from delicate single-needle linework to bold blackwork. It also splits naturally into two halves, so each sister gets her own piece instead of an identical copy, which honestly reads as more thoughtful than matching twin tattoos.
Fine-Line Sun and Moon Wrist Tattoos

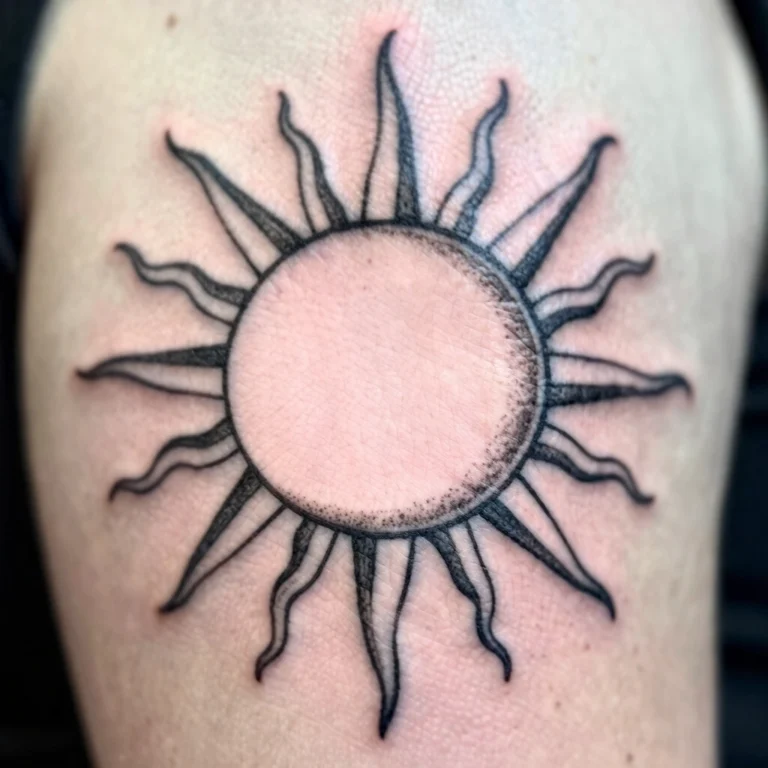
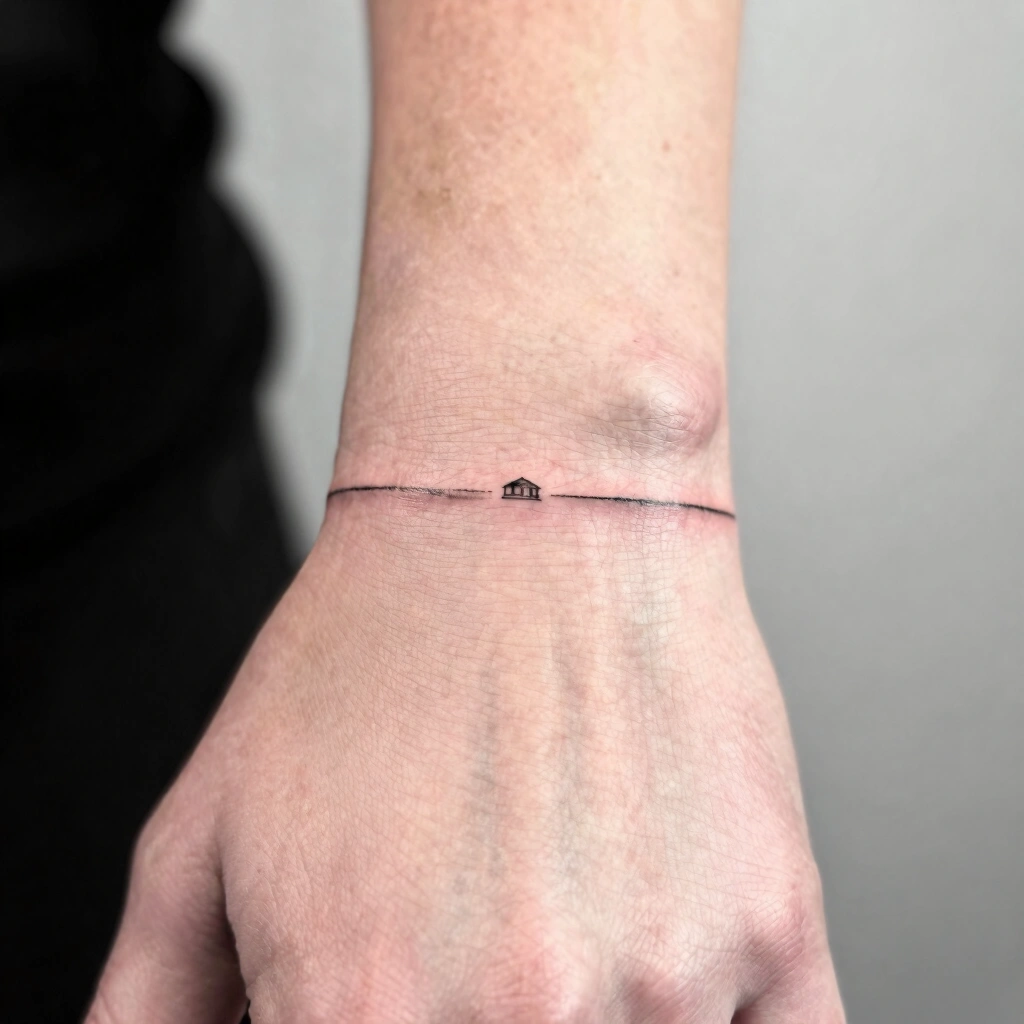
This is the go-to for sisters who want something visible but not shouty. Fine-line work uses a single thin needle pass to create delicate, almost sketch-like outlines with minimal shading — think a crescent moon with tiny star flecks paired with a sun made of slim, evenly spaced rays. On the inner or outer wrist, keep the design between 1.5 and 2.5 inches; anything smaller risks the lines blurring together as the tattoo settles into the skin. Bring your artist a clear reference image and ask specifically for a “0.5mm liner” so you know they’re using consistent thin needles. The wrist sits over bone, so expect a sharper, more noticeable pain level than fleshier spots. This placement works well for a first tattoo and for workplace visibility since it’s easy to cover with a sleeve or watch.
Blackwork Sun and Moon Forearm Piece

Blackwork relies on solid, saturated black ink filled in completely rather than left as outline, which gives the sun and moon a heavier, more graphic presence. On the forearm, this style really shines because the flat area gives the artist room to build clean geometric rays or a fully shaded moon phase without fighting curves or bone. Sizing here can go bigger — 3 to 5 inches — since blackwork actually looks better with more surface area to work with. Ask your artist about “solid black saturation” versus a lighter wash if you want some gray tone variation. Forearm pain tends to be moderate and manageable for most people. This is a strong pick for sisters who want something bold enough to read clearly from a distance, even years down the line.
Dotwork Moon Phases with Sun Accent

Dotwork builds the image entirely from tiny dots instead of solid lines, creating a soft, almost stippled texture that’s especially good for showing the moon’s actual surface texture or subtle shading gradients. Pairing a dotwork moon phase sequence (new moon to full moon) with a single-line sun keeps one sister’s design more textured while the other stays simple — a nice way to differentiate without breaking the matching theme. This works best on flatter areas like the upper back or outer shoulder, sized around 3 inches minimum so the dots don’t merge into a gray smudge as the tattoo heals. Dotwork takes noticeably longer to tattoo than straight linework, so budget extra chair time and expect a slightly higher cost. Pain is comparable to fine-line work on the same spot.
Negative Space Sun and Moon Design

Negative space tattooing uses the untouched skin itself as part of the image, rather than ink. Here, the moon might be a black circle with an uninked crescent cut out of it, letting your natural skin tone form the “light” part of the moon. It’s a striking technique, but it requires genuinely skilled shading to avoid looking unfinished, so this is not a design to hand to a walk-in artist you’ve never seen work before. Look specifically at portfolio shots of healed (not fresh) negative space pieces before booking. Best placed on the upper arm or shoulder blade where skin stays relatively flat, sized 2.5 inches or larger. Healing takes a bit longer to settle visually since the contrast becomes clearer once swelling goes down.
Matching Sun and Moon Behind-the-Ear Tattoos

For sisters who want something more private, the behind-the-ear placement keeps the design small, quiet, and easy to hide with hair. Because the canvas is tiny, stick to ultra-simple single-needle linework — a basic sun outline for one sister, a simple crescent for the other — capped around 1 inch. Detail like rays or shading will not hold up at this size; the skin here is thin and tattoos in this zone are known to fade or blur faster than on thicker skin, according to general tattoo industry consensus. This is a low-commitment option for a first tattoo or for anyone unsure about visibility at work. Expect a sharper pinch of discomfort since the area sits close to cartilage and bone.
Watercolor-Style Sun and Moon with Color Wash

If your sisters relationship has a warmer, softer feel to it, a watercolor-inspired piece swaps flat black ink for a diffused wash of orange, yellow, or soft blue layered behind clean black outlines. This technique fakes the look of a paint bleed using controlled shading gradients — it’s not actually watercolor paint, just ink applied in varying dilution and layers. Color saturation fades faster than black ink over time, so this style needs more realistic expectations about touch-ups every few years. Best placed on the outer forearm, calf, or shoulder where there’s enough flat space for the color to spread convincingly. Ask your artist directly how they handle long-term color fading on this technique before committing.
Single-Needle Tiny Sun and Moon Ankle Tattoos

The ankle is a popular request for sisters who want something cute, low-key, and easy to show off in sandals. Single-needle work keeps the lines razor-thin, ideal for a simple sun face and matching crescent moon under an inch tall. The tradeoff: ankle skin moves and stretches a lot, so fine detail here fades and blurs noticeably faster than on the wrist or forearm, based on general healing patterns artists report. Keep the design as simple as possible — skip tiny star dots or shading, since they won’t survive years of shoe friction. Pain here tends to run higher than fleshier spots due to the bone proximity. This works fine as a first tattoo but isn’t the best pick if you want long-term crispness.
Bold Traditional Sun and Moon with Solid Shading

Traditional American-style tattooing uses thick, confident outlines and a limited, saturated color palette (often black, red, and yellow) rather than fine detail. A bold traditional sun and moon piece leans into thick linework and solid color fills, which actually ages better than fine-line work because thick lines hold their shape longer as skin changes over decades. This suits sisters who want something that reads clearly even from across a room. Best on the upper arm or shoulder where there’s room for the bolder scale — 3 inches minimum. Ask your artist for “heavy black outline with solid fill” language when describing what you want so there’s no confusion with a lighter linework approach.
Celestial Sun and Moon Sleeve Accent

For sisters already planning bigger tattoo journeys, a sun and moon can act as a focal point within a larger celestial sleeve featuring stars, constellations, or clouds worked in around it. This is a custom design project, not a flash tattoo you pick off a wall, so expect multiple consultation rounds with your artist to map out placement and flow around your arm’s natural shape. Line weight should vary — thicker for the sun and moon centerpiece, thinner for surrounding stars — to create visual hierarchy. This is a bigger financial and time commitment, often requiring multiple sessions, so it’s not the move for a first tattoo.
Simple Linework Sun and Moon Rib Placement

The ribs offer a private, easily-hidden placement, but they’re also one of the more sensitive spots on the body due to thin skin over bone with little muscle padding. If you’re set on this placement, keep the design simple — single-line sun and moon around 2 to 3 inches — since the curved, moving surface of the ribcage makes fine detail harder to tattoo cleanly. Healing here also takes a bit longer since clothing friction can irritate the area during the first couple weeks. This spot suits sisters who want a meaningful matching tattoo that stays entirely for themselves, not for public display.
Best Placement Ideas
Here’s how the major placement options stack up:
- Wrist — highly visible, moderate-to-sharp pain, best for small fine-line designs
- Forearm — very visible, moderate pain, great canvas for blackwork or bold traditional
- Upper back/shoulder blade — easy to hide, lower pain, ideal for larger dotwork or negative space pieces
- Behind the ear — very private, sharper pain, only works for tiny minimal designs
- Ankle — casual visibility, higher pain near bone, needs simple linework to age well
- Ribs — fully private, more sensitive area, best kept simple due to body curvature
Tips for Success
Start by researching artists who specialize in the specific technique you want — a fine-line specialist and a bold traditional artist have genuinely different skill sets, and portfolios make that obvious fast. Look for healed photos, not just fresh ink shots, since swelling and redness hide a lot of flaws. Bring at least two or three reference images to your consultation, and be upfront about whether you want a custom design or are fine with an existing flash tattoo template. Ask about needle type, expected session length, and their touch-up policy before you sit down. A good consultation should feel like a conversation, not a rushed transaction.
Common Mistakes and How to Avoid Them

- Going too small for the detail level — dotwork and shaded designs need more surface area than simple outlines
- Choosing a placement that fights the design — heavily curved areas distort geometric symmetry
- Skipping the aftercare instructions — this affects how crisp the final healed result looks
- Copying a design exactly from Pinterest — personalizing size, angle, or small details keeps it meaningfully yours
- Booking a walk-in for a highly custom piece — complex negative space or watercolor work usually needs a dedicated custom appointment
Similar Variations

Every idea above can be adjusted. Swap black ink for a single muted color. Resize a wrist design up to a forearm piece if you want more visibility later. Combine dotwork shading with fine-line outlines for texture without full blackwork commitment. Sisters don’t need identical tattoos — mirrored poses, different sizes, or one sun-focused and one moon-focused design both keep the theme cohesive without being matchy-matchy.
Aftercare Basics

Follow whatever aftercare sheet your artist hands you first — that’s the most reliable guidance since it’s specific to the ink and technique they used. General points that most studios agree on: keep the area clean, avoid direct sun and swimming pools for the first couple weeks, don’t pick at peeling skin, and use a fragrance-free moisturizer as recommended. Healing timelines vary by placement and individual skin, but most people see full healing somewhere between two and four weeks. If you notice unusual redness, swelling, or discharge beyond normal healing, check with a licensed dermatologist rather than guessing online.
Quick FAQ

How much does a sun and moon matching tattoo cost?
Simple fine-line versions often start around $80–$150 per person, while larger blackwork or custom color pieces can run $200–$500 or more depending on the artist’s rate and design complexity.
How painful is a sun and moon tattoo?
It depends heavily on placement — bony areas like the wrist, ankle, and ribs tend to feel sharper, while fleshier spots like the upper arm or shoulder are generally more tolerable. Pain tolerance varies a lot from person to person.
How long does healing take?
Most designs heal on the surface within two to three weeks, though full settling under the skin can take up to a month. Larger or more detailed pieces may take slightly longer.
Will the design still look good in ten years?
Bold, thicker linework tends to hold up better long-term than ultra-fine detail, and placement matters too — areas with less friction and sun exposure age more slowly. A touch-up every several years keeps most designs looking sharp.
A sun and moon tattoo matching sisters design works because it says something real without needing an explanation — and with the right technique, size, and placement, it’ll actually still look good a decade from now. Talk to a licensed, experienced artist, bring clear references, and don’t rush the decision just because you’re excited. Get it right once, and this sun and moon tattoo matching sisters idea becomes something you’re both glad you chose.